Halloween always feels like the most creative holiday to me. It’s the holiday where everyone is encouraged to dress up and act as something totally different than themselves. It’s the holiday where everyone is expected to think creatively and be something unusual. Halloween is like all the best things rolled into one holiday; drama, art, imagination, and of course, fun treats.
With art, imagination, and creative fun treats in mind I created a simple Halloween craft – a treat box just waiting to be filled with goodies of all kinds. These treat boxes are perfect for class parties, goodies for your favorite neighborhood ghosts and ghouls, or even as game-day treats for your little soccer stars.
These are great fun to make with kids. Both of my girls want to make Halloween treat boxes for their classes and I can see both the preschooler’s and third grader’s classes loving them.
Supplies needed to make Jack-o-lantern Treat Boxes
- Orange paper party cups
- Black paint pen or sharpie
- Scissors (the smaller the better, we used embroidery scissors)
- Ruler
- Pencil
- Double sided tape (optional)
- Squares of green tissue paper (optional)
- Hersey Kisses (optional)
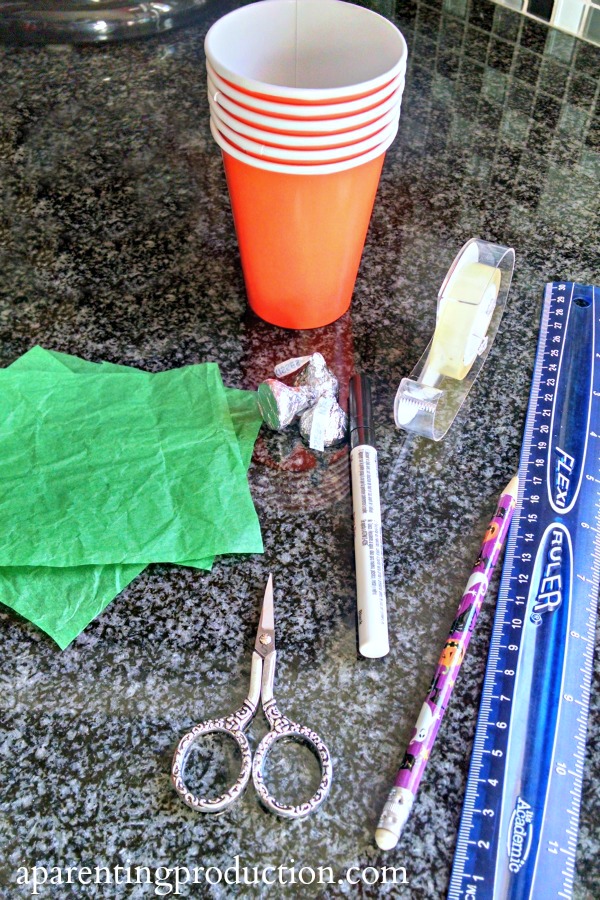
How to make Jack-o-lantern Treat Boxes
1. Using the paint pen or sharpie draw a jack-o-lantern face on each cup. We also wrote “Happy Halloween” on the back of our cups. Once the paint or marker face is dry cut the rounded lip from the top of the cup.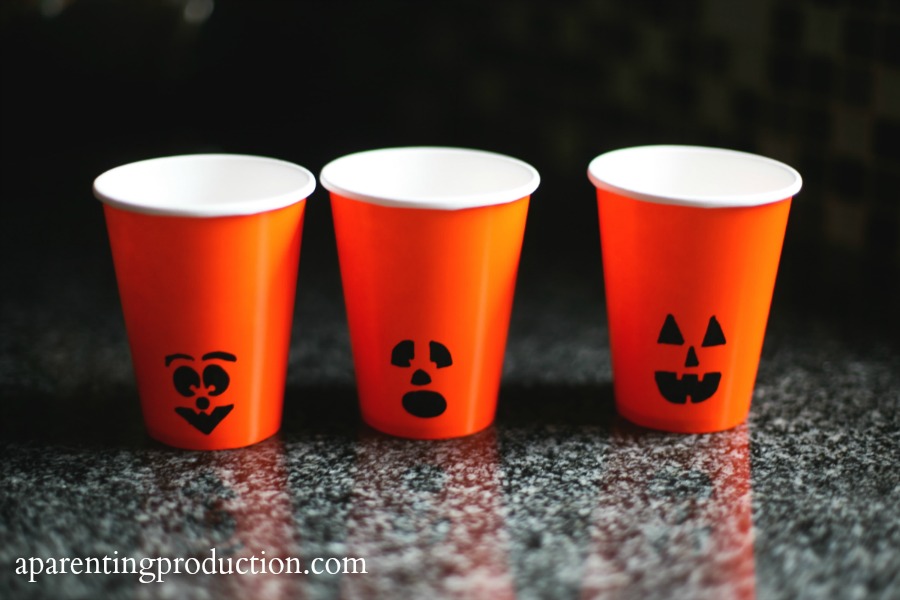
2. Measure about 1 1/4 inches from the top of the cup. Make light marks around the cup 1 1/4 inches from the top to guide your cuts.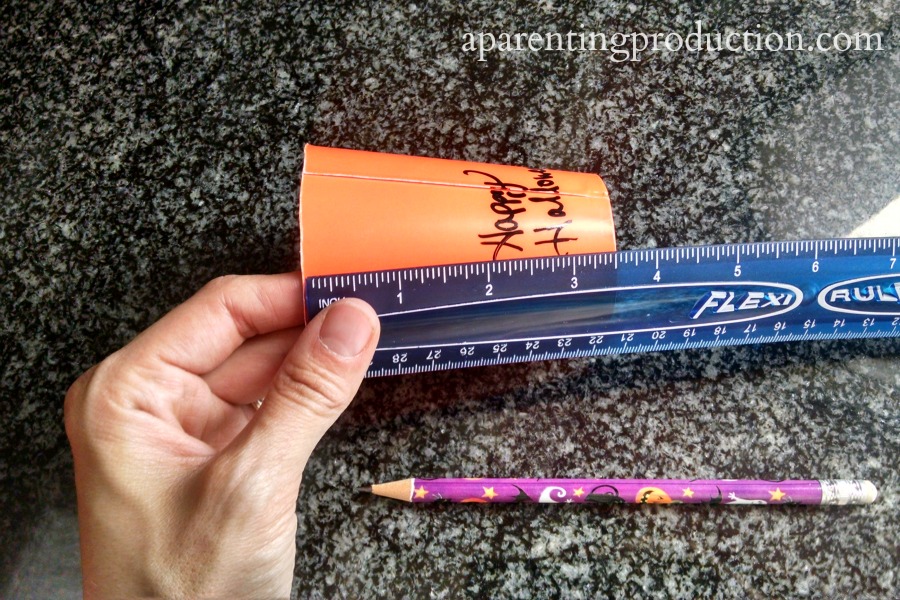
3. Cut vertically 1 1/4 inch down from the top making 6-8 flaps total.
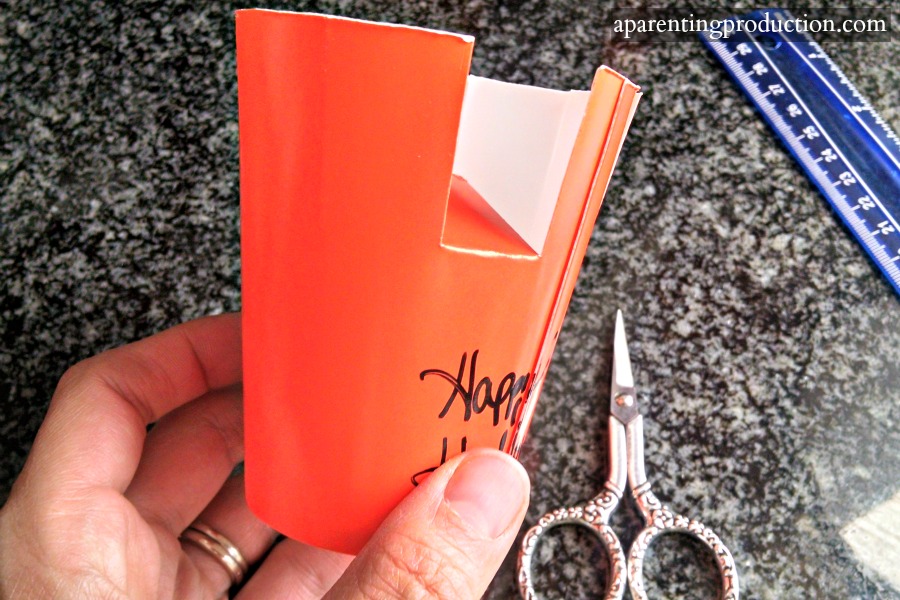
4. Individually bend the flaps in towards the center.

5. Fill the cup with your treats. We filled ours with kettle corn, and Unreal candy covered chocolates, and Unreal peanut butter cups. Once filled fold the flaps down toward the center one after another. When you get to the last flap tuck the end under the first flap. If you want to keep it simple you can finish here. If you want to add just a bot more detail follow the remaining step.
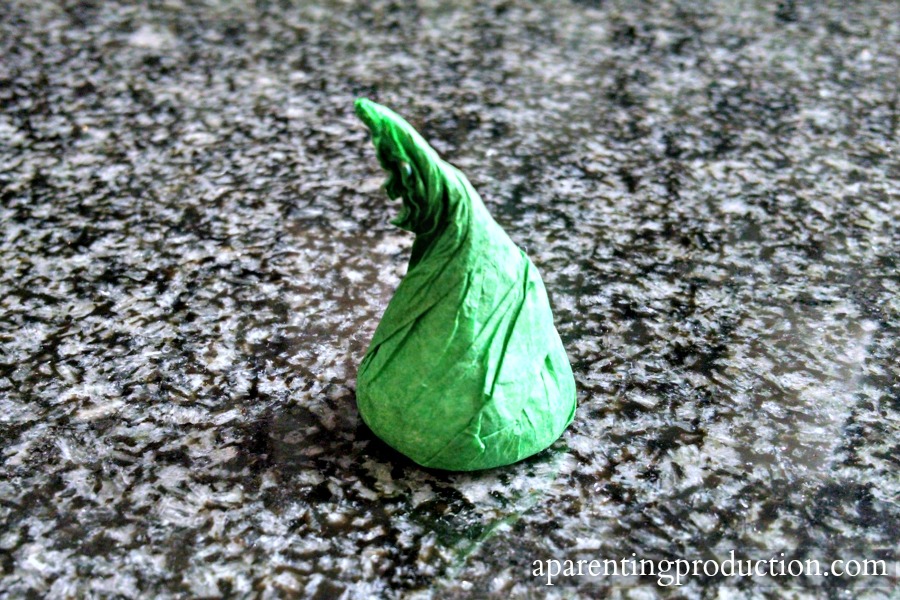
6. *Optional* Set A Hersey Kiss in the center of the green tissue square. Wrap the tissue paper up around the Kiss. Place a piece of double sided tape on the center of the treat box and place the wrapped Kiss on top to make a stem for your jack-o-lantern.
What would you use these adorable Halloween jack-o-lantern treat boxes for?


How cute! What a great idea. I love the simplicity of it. Pinned to try later. Thanks for sharing. 🙂
This is so cute! I wish I had the mindset to be crafty these days – but maybe soon. I’ll share, though, because I have crafty peeps for friends.
Great idea. Kids love little packages and are going to love opening these!
These are so cute!!! I would love to make them for my coworkers as a little Halloween treat.
I love these! What a fun easy idea and so adorable! I am definitely passing this along to some young moms!