When my oldest was in preschool, he brought home what has become one of my favorite fall decorations: a painted family tree. Since then, I have taken that idea and tweaked it a little for a craft I can do with my own preschool class, or as a fall craft that is great for anyone to do at home. It’s easy, pretty cost efficient, and a keepsake you can proudly display for years to come.
You will need:
– Canvas (I prefer the boards since they are thin and can be propped up, but crafter’s choice.)
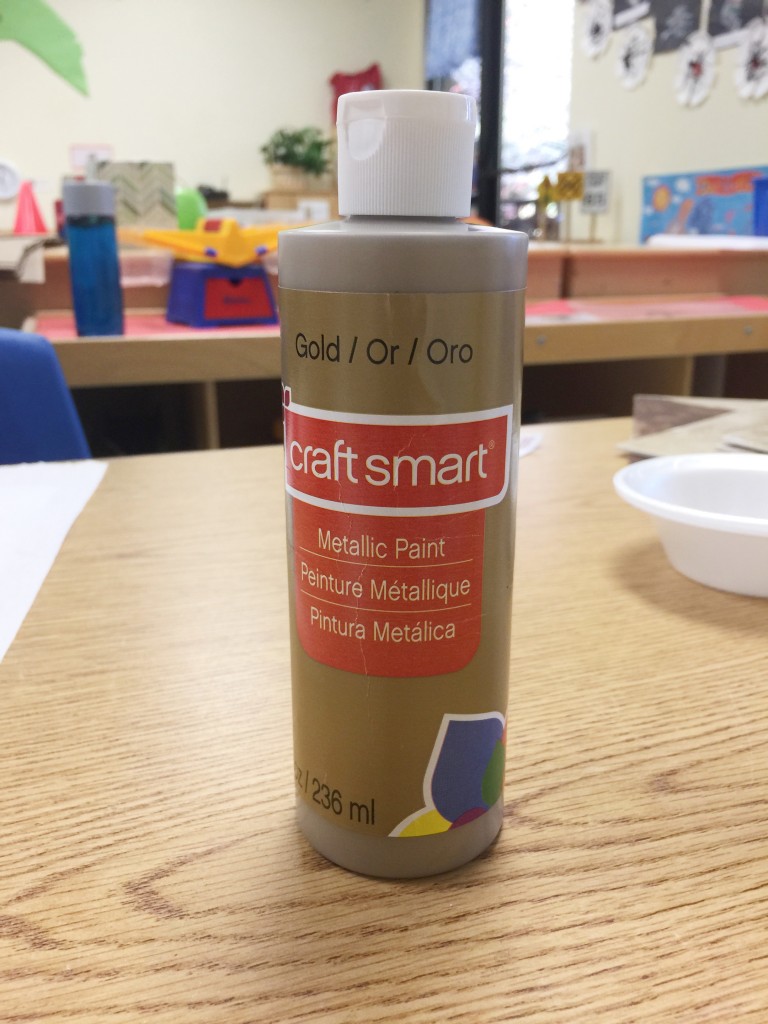
– Acrylic Paint (Metallic Gold, Dark Brown, 2 Fall Leaf Colors)
– Sponge
– 2 or 3 Paintbrushes
– Paint Pen (color of your choice)
– Sealer (Optional)
Before you get started, cover your work space with plastic. I don’t recommend working on newspaper since the ink could rub off onto the canvas. This project has a few paint steps that need some drying time in between. It’s something that you could stretch across a couple of days, but if you want to finish the project in day, make sure you allot for drying time between steps.
1. Use the sponge to cover the entire canvas in a thin coat of metallic gold paint. This will be the background for your tree. You (or your child) can dab the sponge or use it like a paintbrush. Allow the gold to dry.
2. Use a paintbrush to paint a tree onto the canvas. This is a great step for children as young as 3 or 4 to do with guidance. Older children could handle this step mostly on their own. It is helpful to add the same number of branches going up as there are members of the family. Consider making the base of the trunk a bit wide. It really looks nice when you add the family name. Allow the paint to dry before moving onto the next step.

3. Once the tree trunk and branches are dry, paint your child’s hand with fall leaf colored paint. Carefully use their hand as a stamp to add a leaf to a branch of the tree. It works well when you alternate colors. This way if leaves overlap, you can still see each individual handprint. I stamp all of one color “leaf”leaving an empty branch between each one. Then, I go back and fill in the blanks with the second color. Let the paint from the handprints dry.
4. With a paint pen, add the names of each family member to the leaves (one name per leaf). Write the family name and the year across the trunk of the tree. Once the names have dried, spray each canvas with acrylic sealer.
This fall craft is easy, fun and has a fantastic end product. These family trees will be part of your fall decor for years to come.


Leave a Reply