This morning while my husband stood looking out the window finishing his coffee, I heard him mutter under his breath “I’m not ready for fall.” Me? I’m always ready for fall. Pumpkins and apples, sweaters and boots, leaves in gold, orange, and reds. But don’t worry. We have some more time to enjoy summer as fall doesn’t really start until late September.
My husbands feelings about fall aside, I couldn’t wait to get some fall color into our house, and you know my girls are always ready to get crafty. Fall crafts are so fun and if you ask me, fall colors are the best colors. In honor of the upcoming season the girls and I brought a bit of fall color into our house with some colorful melted wax fall leaves. Melting crayon shavings together creates a beautiful marbled look in vibrant colors. Stringing the wax leaves up and letting the sunshine from my kitchen windows shine through the marbled fall colored leaves has brought me a touch of fall without the actual leaf clean-up and cooler temperatures my husband is dreading.
Supplies Needed to Make Melted Wax Fall Leaf Mobile
- Wax paper
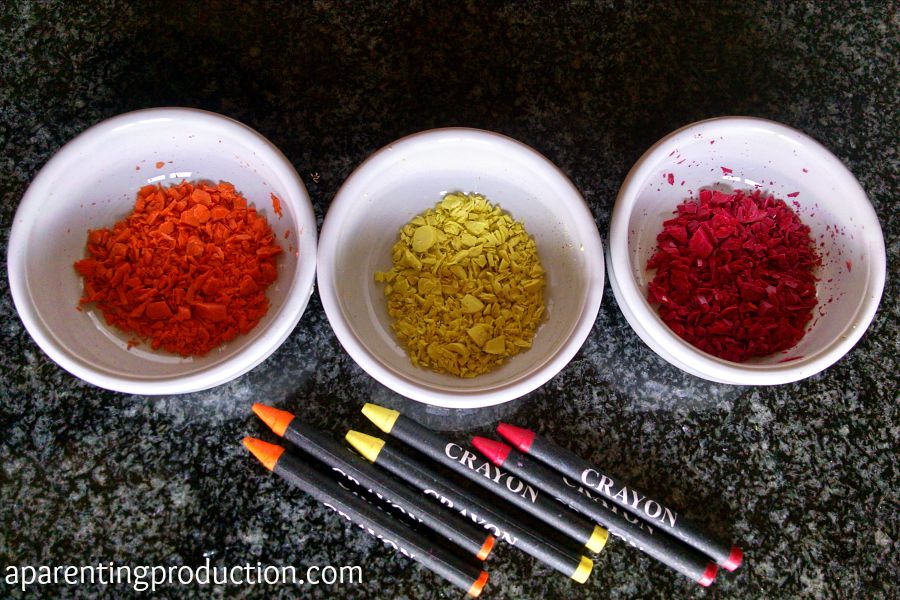
- Crayon shavings in fall colors (a pencil sharpener works well to make crayon shavings, or you can use a knife and cutting board.)
- Paper (enough to draw your leaf shapes, cover your work space on the ironing board, and to shield the iron from the wax paper)
- Clothes iron
- Ironing board
- String and a hole punch
- A branch or stick
How to Make Melted Wax Fall Leaf Mobile
1. Set up your ironing space. Lay a large piece of paper on the ironing board. This sheet will protect the ironing board from the wax paper. Draw some leaves on a sheet of paper. Place leaf drawing on the ironing board. Alternately you could also trace the leaves onto the wax paper. Cover the drawing with a piece of wax paper. It’s best if it’s a bit bigger than than paper with your leaf drawings. Preheat the iron to low.
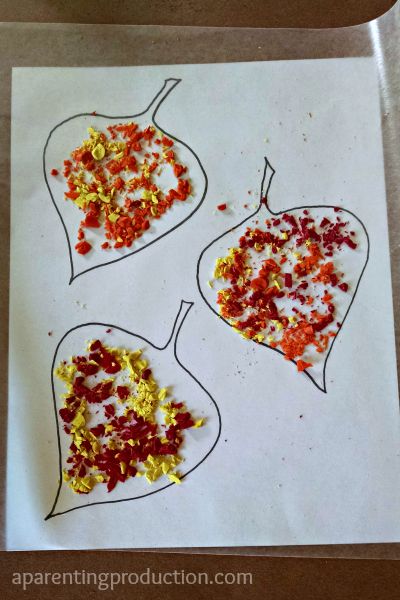
2. Sprinkle the crayon shavings onto the wax paper using the leaves on the prinatble as a guide. It doesn’t take much wax shavings to to the job.
3. Gently lay a second sheet of wax paper on top to sandwich in the crayon shavings. Lay a sheet of paper over the wax paper. This sheet of paper will protect your it on from getting wax all over it.

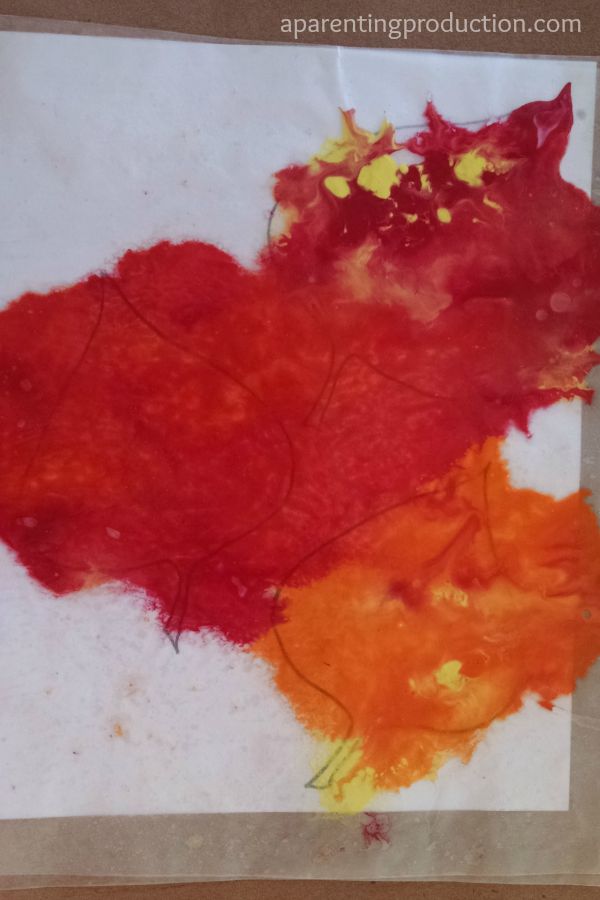
4. Gently place the warm iron onto the top sheet of paper moving it gently over the surface until the crayon is melted. You can peek under the top sheet of paper to see if the crayon is melted. It is easier to cut the leaves out if the layer of crayon is thin. Once the crayon is melted and spread set the iron to the side and let the melted crayon cool. It should only take a few minutes to cool enough to handle.
5. Once the crayon is cooled you can cut out your leaves. We used the leaf drawings as a guide to cut our leaves out. After the leaves are cut out you can use a toothpick or needle to lightly scratch the veins into the wax paper to add some texture to the leaves if you would like.

6. Punch a hole in the leaves and string them onto the branch. We pulled out my oldest daughter’s embroidery thread and needles and sewed a cute little cross stitch X to string our leaves to our branch.

7. Hang your fall leaf mobile in a sunny place where the sun can shine through the leaves and enjoy a touch of fall color.


This project “fall leaves” looking beautiful. I will try it in my home. Which color match with blue? Actually my home wall color is blue?